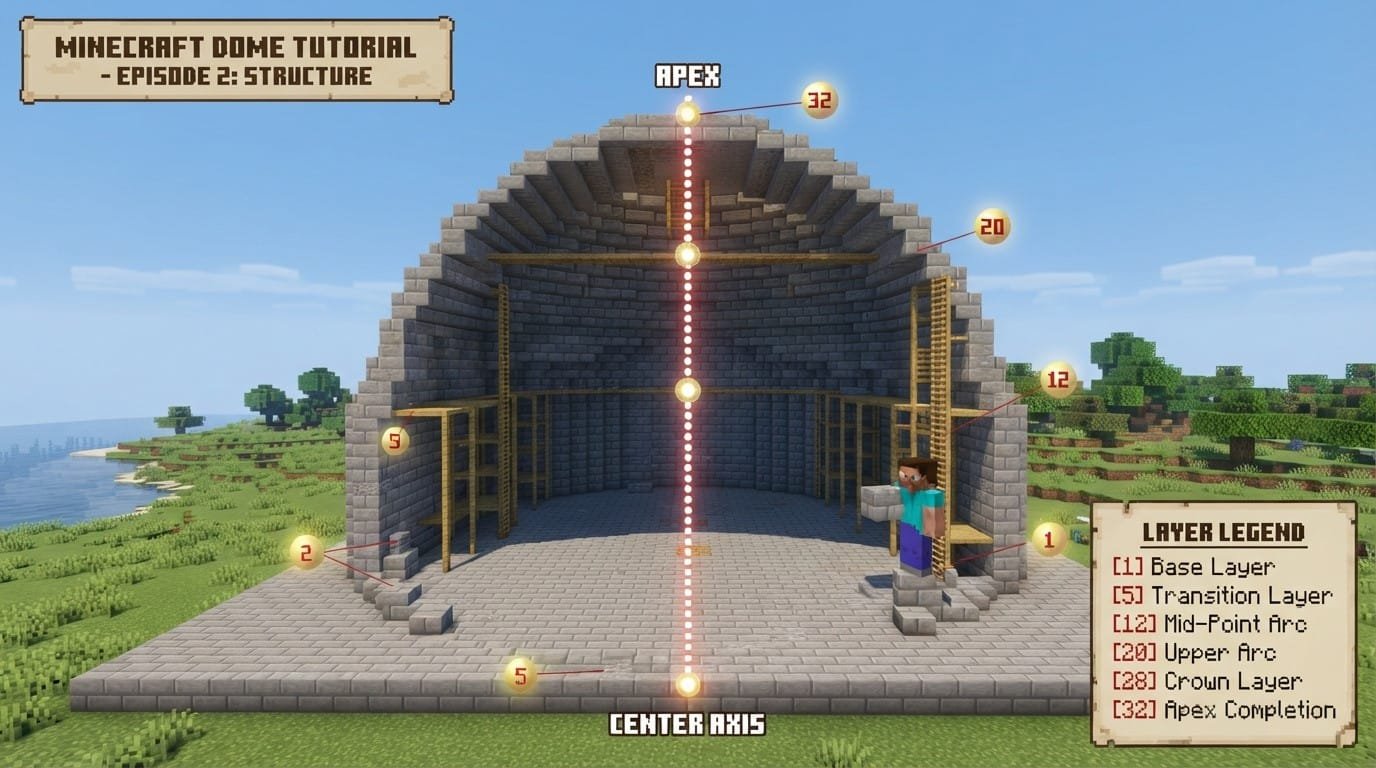
How to Build a Perfect Dome in Minecraft — Layer-by-Layer Tutorial
A dome is half a sphere, and every layer above the base ring shrinks by a predictable amount — not a guess, an actual radius calculation per height. Get the math wrong by even one block per layer and the whole structure reads as lumpy instead of curved. Here’s the exact layer progression I use, worked out from real coordinate math, not “eyeball it until it looks round.”
The Core Concept: Spring Line and Radius Decay
Every dome has a spring line — the height where the vertical wall stops and the curve begins. For a 20-block-diameter dome (radius 10), the spring line sits at your base ring height, and every layer above it follows this formula:
radius at height h = √(R² − h²)
Where R is your target radius and h is how many blocks you’ve built up from the spring line. This is the same Euclidean distance math I use in the Sphere Generator’s rendering engine — a dome is just the top half of that same shape, so the block math is identical.
Step 1: Mark the Base Ring
Pick your radius. For this walkthrough I’m using R = 10 (a 20-block-diameter dome — big enough for a small cathedral interior, small enough to build solo in an afternoon).
Mark your center point, then lay out the base ring using a standard circle block-chart for a 20-block diameter. Don’t freehand this part — an uneven base ring throws off every layer above it, since each subsequent ring is calculated relative to a true circle, not an approximate one.
Step 2: Build the Vertical Wall to Spring Line
Before the curve starts, build straight up at full radius for at least 3–4 blocks. This gives the dome a base “drum” to sit on, which reads architecturally correct — a dome that starts curving immediately from ground level looks like an igloo, not a cathedral roof.
Step 3: Layer-by-Layer Curve — The Actual Numbers
This is the part most tutorials wave their hands through. Here’s the real per-layer diameter for R = 10, calculated directly from the formula above and rounded to the nearest buildable block width:
| Layer (height from spring line) | Radius (blocks) | Diameter (blocks) |
|---|---|---|
| 0 (spring line) | 10.00 | 20 |
| 1 | 9.95 | 20 |
| 2 | 9.80 | 20 |
| 3 | 9.54 | 19 |
| 4 | 9.17 | 18 |
| 5 | 8.66 | 17 |
| 6 | 8.00 | 16 |
| 7 | 7.14 | 14 |
| 8 | 6.00 | 12 |
| 9 | 4.36 | 9 |
| 10 (apex) | 0.00 | 1 |
Notice the diameter barely shrinks for the first two layers, then drops fast near the top — that’s the actual curve of a sphere, not a straight taper. Most freehand domes fail here because builders shrink each layer by a consistent amount (say, 2 blocks per layer), which produces a cone, not a dome. The real curve is slow at the bottom and steep at the top.
Step 4: Cap the Apex
At height 10, your radius hits zero — that’s a single center block, not a small ring. Don’t leave a 2×2 or 3×3 flat cap; a true dome closes to one block. If the peak looks too abrupt, add a lightning rod, lantern, or beacon at the apex instead of widening the cap — that reads as intentional detailing, not an unfinished curve.
Step 5: Hollow the Interior
Once the shell is complete, hollow the interior leaving a 1-block-thick shell for a lightweight structure, or 2 blocks if you want redstone/piston mechanisms embedded in the dome wall itself. Work from the top down when hollowing — clearing bottom-up on a dome risks floating block sections collapsing your working scaffold before you’ve finished the upper rings.
Material Count — Don’t Guess, Calculate
Rough surface area for a hemisphere shell: 2πR² blocks for a solid single-layer shell. At R = 10, that’s roughly 628 blocks for the curved surface alone, before the base wall and interior detailing. Budget accordingly before you start mining — running out of your chosen block mid-build and switching materials is the single most common reason dome builds look inconsistent from one side to the other.
Common Mistakes
- Shrinking each layer by a fixed amount instead of following the curve. This produces a cone or pyramid silhouette, not a dome — the whole point of the formula in Step 3 is that the shrink rate itself changes per layer.
- Building only one quadrant and mirroring by eye. Small asymmetries compound across four quadrants. Use the same block-chart reference for all four sides of every ring.
- Skipping the vertical spring-line wall. Starting the curve at ground level produces an igloo silhouette, not an architectural dome.
- Hollowing bottom-up. Clear from the apex downward so you’re always standing on solid shell, not scaffolding inside a half-hollow structure.
When Manual Layer Counting Doesn’t Scale
Everything above works perfectly for one dome. It gets tedious fast if you’re building three domes at different radii for a temple complex, or need to double-check a specific layer’s diameter mid-build without recalculating by hand. The Minecraft Dome Generator runs this exact formula for any radius, height, and block material, gives you a full 3D preview and layer-by-layer blueprint before you place a single block, and exports copyable commands if you’re building in a world where command blocks are available. It’s the same math from Step 3 — just calculated for every layer at once instead of one at a time by hand.
If you need a full sphere instead of a half-dome (floating orbs, planet builds, decorative spheres), the Minecraft Sphere Generator runs the same curve math for both hemispheres. For spires, towers, or conical roofs to pair with a dome base, the Minecraft Cone Generator handles the straight-taper shape that a dome deliberately avoids.
Key Takeaway Checklist
| Step | What to check |
|---|---|
| Base ring | Laid out from a true circle chart, not freehanded |
| Spring line wall | At least 3–4 blocks of straight vertical wall before curving |
| Layer shrink rate | Follows √(R² − h²), slow near the base, steep near the top |
| Apex | Closes to a single block, not a flat cap |
| Hollowing direction | Top-down, never bottom-up |
| Material budget | ~2πR² blocks for the shell — calculate before you start mining |
Written by Sharjeel — Lead Developer & Founder of Ghostern, software engineer who built the Minecraft Sphere and Dome Generators after manually laying out this exact block math on real survival-mode builds. Screenshots and layer counts in this guide are from my own build, verified in-game before publishing. Read my full story →
Disclaimer: Minecraft is a trademark of Mojang Studios and Microsoft. Ghostern is not affiliated with or endorsed by either company. Block counts and radii in this guide are calculated for vanilla block dimensions and may need adjustment for modded scale or resource pack changes.