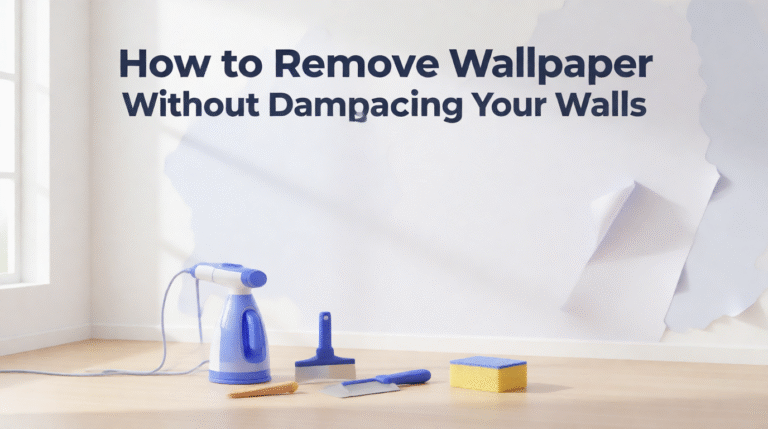
Removing wallpaper may seem like a simple task, but in my experience, using the wrong technique can quickly lead to damaged drywall, uneven surfaces, and wasted time. I have found that the key is understanding the wallpaper type and softening the adhesive properly before applying any force. With the right approach, even old or stubborn wallpaper can be removed cleanly.
Understanding Different Types of Wallpaper
Before starting, it’s important to identify what kind of wallpaper you’re dealing with. Generally, wallpaper falls into three categories:
- Peel-and-stick wallpaper – usually removes easily by hand
- Traditional pasted wallpaper – requires moisture to loosen glue
- Vinyl-coated wallpaper – often needs steam or extra treatment
In older homes, I’ve often discovered multiple wallpaper layers, which makes testing a small hidden area absolutely essential.
Tools You’ll Need for Wallpaper Removal
Having the right tools saves both time and frustration. I recommend preparing the following before you begin:
- Wallpaper scoring tool
- Wide scraper or putty knife
- Sponge and bucket of warm water
- Wallpaper remover or fabric softener solution
- Steam machine (for vinyl wallpaper)
- Sandpaper and joint compound
- Protective gloves and eye protection
Step-by-Step Wallpaper Removal Process
Start by peeling any loose corners gently with your hands. If the paper doesn’t come off easily, lightly score the surface to allow moisture to penetrate the adhesive.
Next, apply wallpaper remover or a warm water and fabric softener mixture. In my experience, letting it soak for 10–15 minutes makes a huge difference. Once the adhesive softens, scrape slowly at a low angle to avoid gouging the wall.
For vinyl wallpaper, steaming works best. Heat loosens the glue behind the waterproof layer, making removal much smoother. I’ve seen walls badly damaged simply because steam was skipped and force was used instead.
After the wallpaper is removed, wash the wall thoroughly to remove glue residue. This step is critical and often overlooked.
Common Mistakes to Avoid
- Scraping too aggressively and tearing drywall
- Skipping adhesive removal, which causes paint to peel later
- Over-scoring the wall surface
- Ignoring ventilation when using chemical removers
A surprising fact many people don’t realize is that leftover adhesive can cause paint failure. According to background information on Wikipedia residue prevents proper paint bonding, leading to bubbling and peeling over time.
Preparing the Wall for a New Finish
Once the wall is clean, lightly sand rough spots and fill dents with joint compound. After drying, sanding again and applying primer ensures the surface is ready. Interior design experts, including those featured on Architectural Digest (https://www.architecturaldigest.com), consistently emphasize this preparation step for professional-looking results.
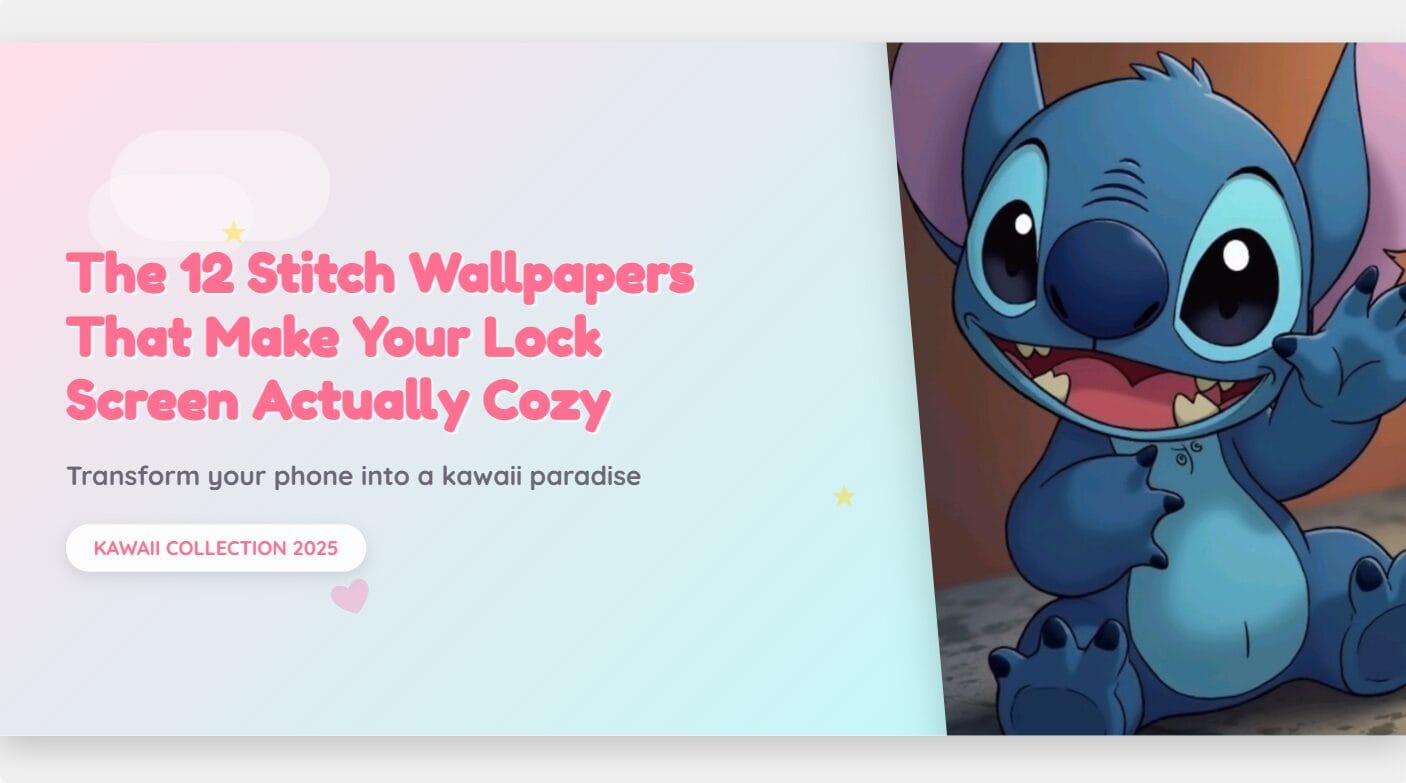
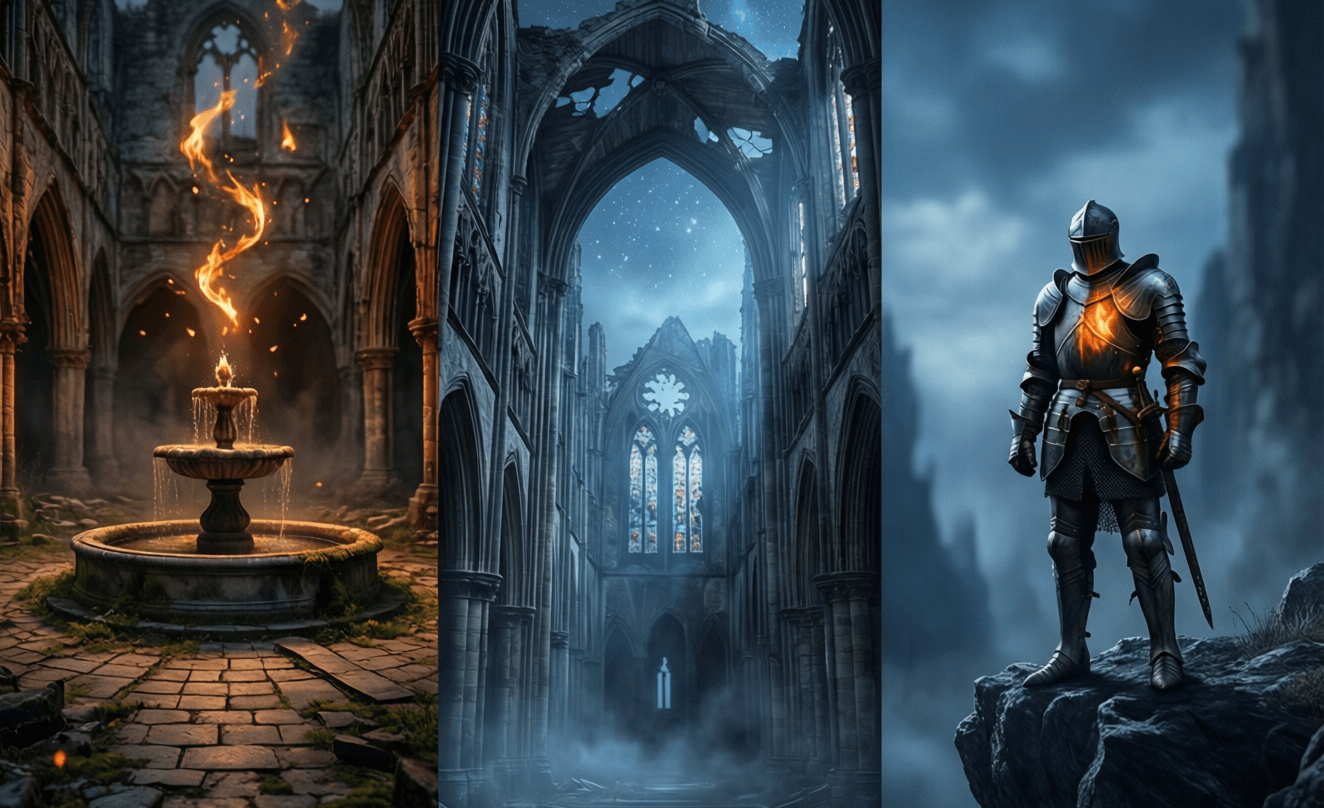
Digital Wallpaper Inspiration and Design Quality
In my experience working with digital wallpapers, preparation matters just as much online as it does on physical walls. At Ghostern (https://ghostern.com), I curate high-quality wallpapers including Stitch cartoon wallpapers, Dark Souls designs, and nature wallpapers optimized for phones, iPads, and desktops. Clean resolution, correct sizing, and proper formatting make a noticeable visual difference.
For deeper inspiration and device-ready wallpaper collections, I recommend browsing Ghostern’s wallpaper library (https://ghostern.com). This resource has helped me better understand how patterns and surface clarity impact overall aesthetics.
Next Steps
Begin by removing wallpaper from a small test area to identify the most effective method. Once your wall is smooth and primed, decide whether to repaint or upgrade your space with a modern digital wallpaper that fits your device and style perfectly.